Crunching down a chocolate-covered honeycomb bar at work last week (those boxes of ‘fun-size bars’ are a menace at this time of year!), I was reminded that I meant to attempt home-made honeycomb, having come across a recipe in a newly acquired cook book; Your Place or Mine by Gary Mehigan and George Calombaris.
Given that we are in prime gift-giving season, this is a great treat to make for colleagues or other sweet-tooth friends. So easy, very few ingredients and yet totally unique, not to mention striking when wrapped. I have made 2 batches so far (half of the first batch disappeared before I could package it up) and, given how fast it is to make, can see myself whipping up a batch in future for use in biscuits, slices and also to crush on top of ice cream, pavlovas or cheesecakes.
If you are short on time, but wanting an impressive home-made gift, give this a shot.
Ingredients:
- 365g caster sugar
- 170g liquid glucose
- 110ml water
- 1 tablespoon bi-carb soda
- 200g-300g dark or milk chocolate, melted
Line a 30x24cm pan with a large sheet of baking paper. This size makes quite thin honeycomb (about 1cm) so if you want something thicker, use a smaller pan.
Into a deep, heavy-based saucepan, weigh the sugar and then the glucose syrup. Pour the water over the mixture and allow to dissolve for a few minutes before placing on the stove. Place over high heat and allow sugar to dissolve into a syrup (about 5 minutes).
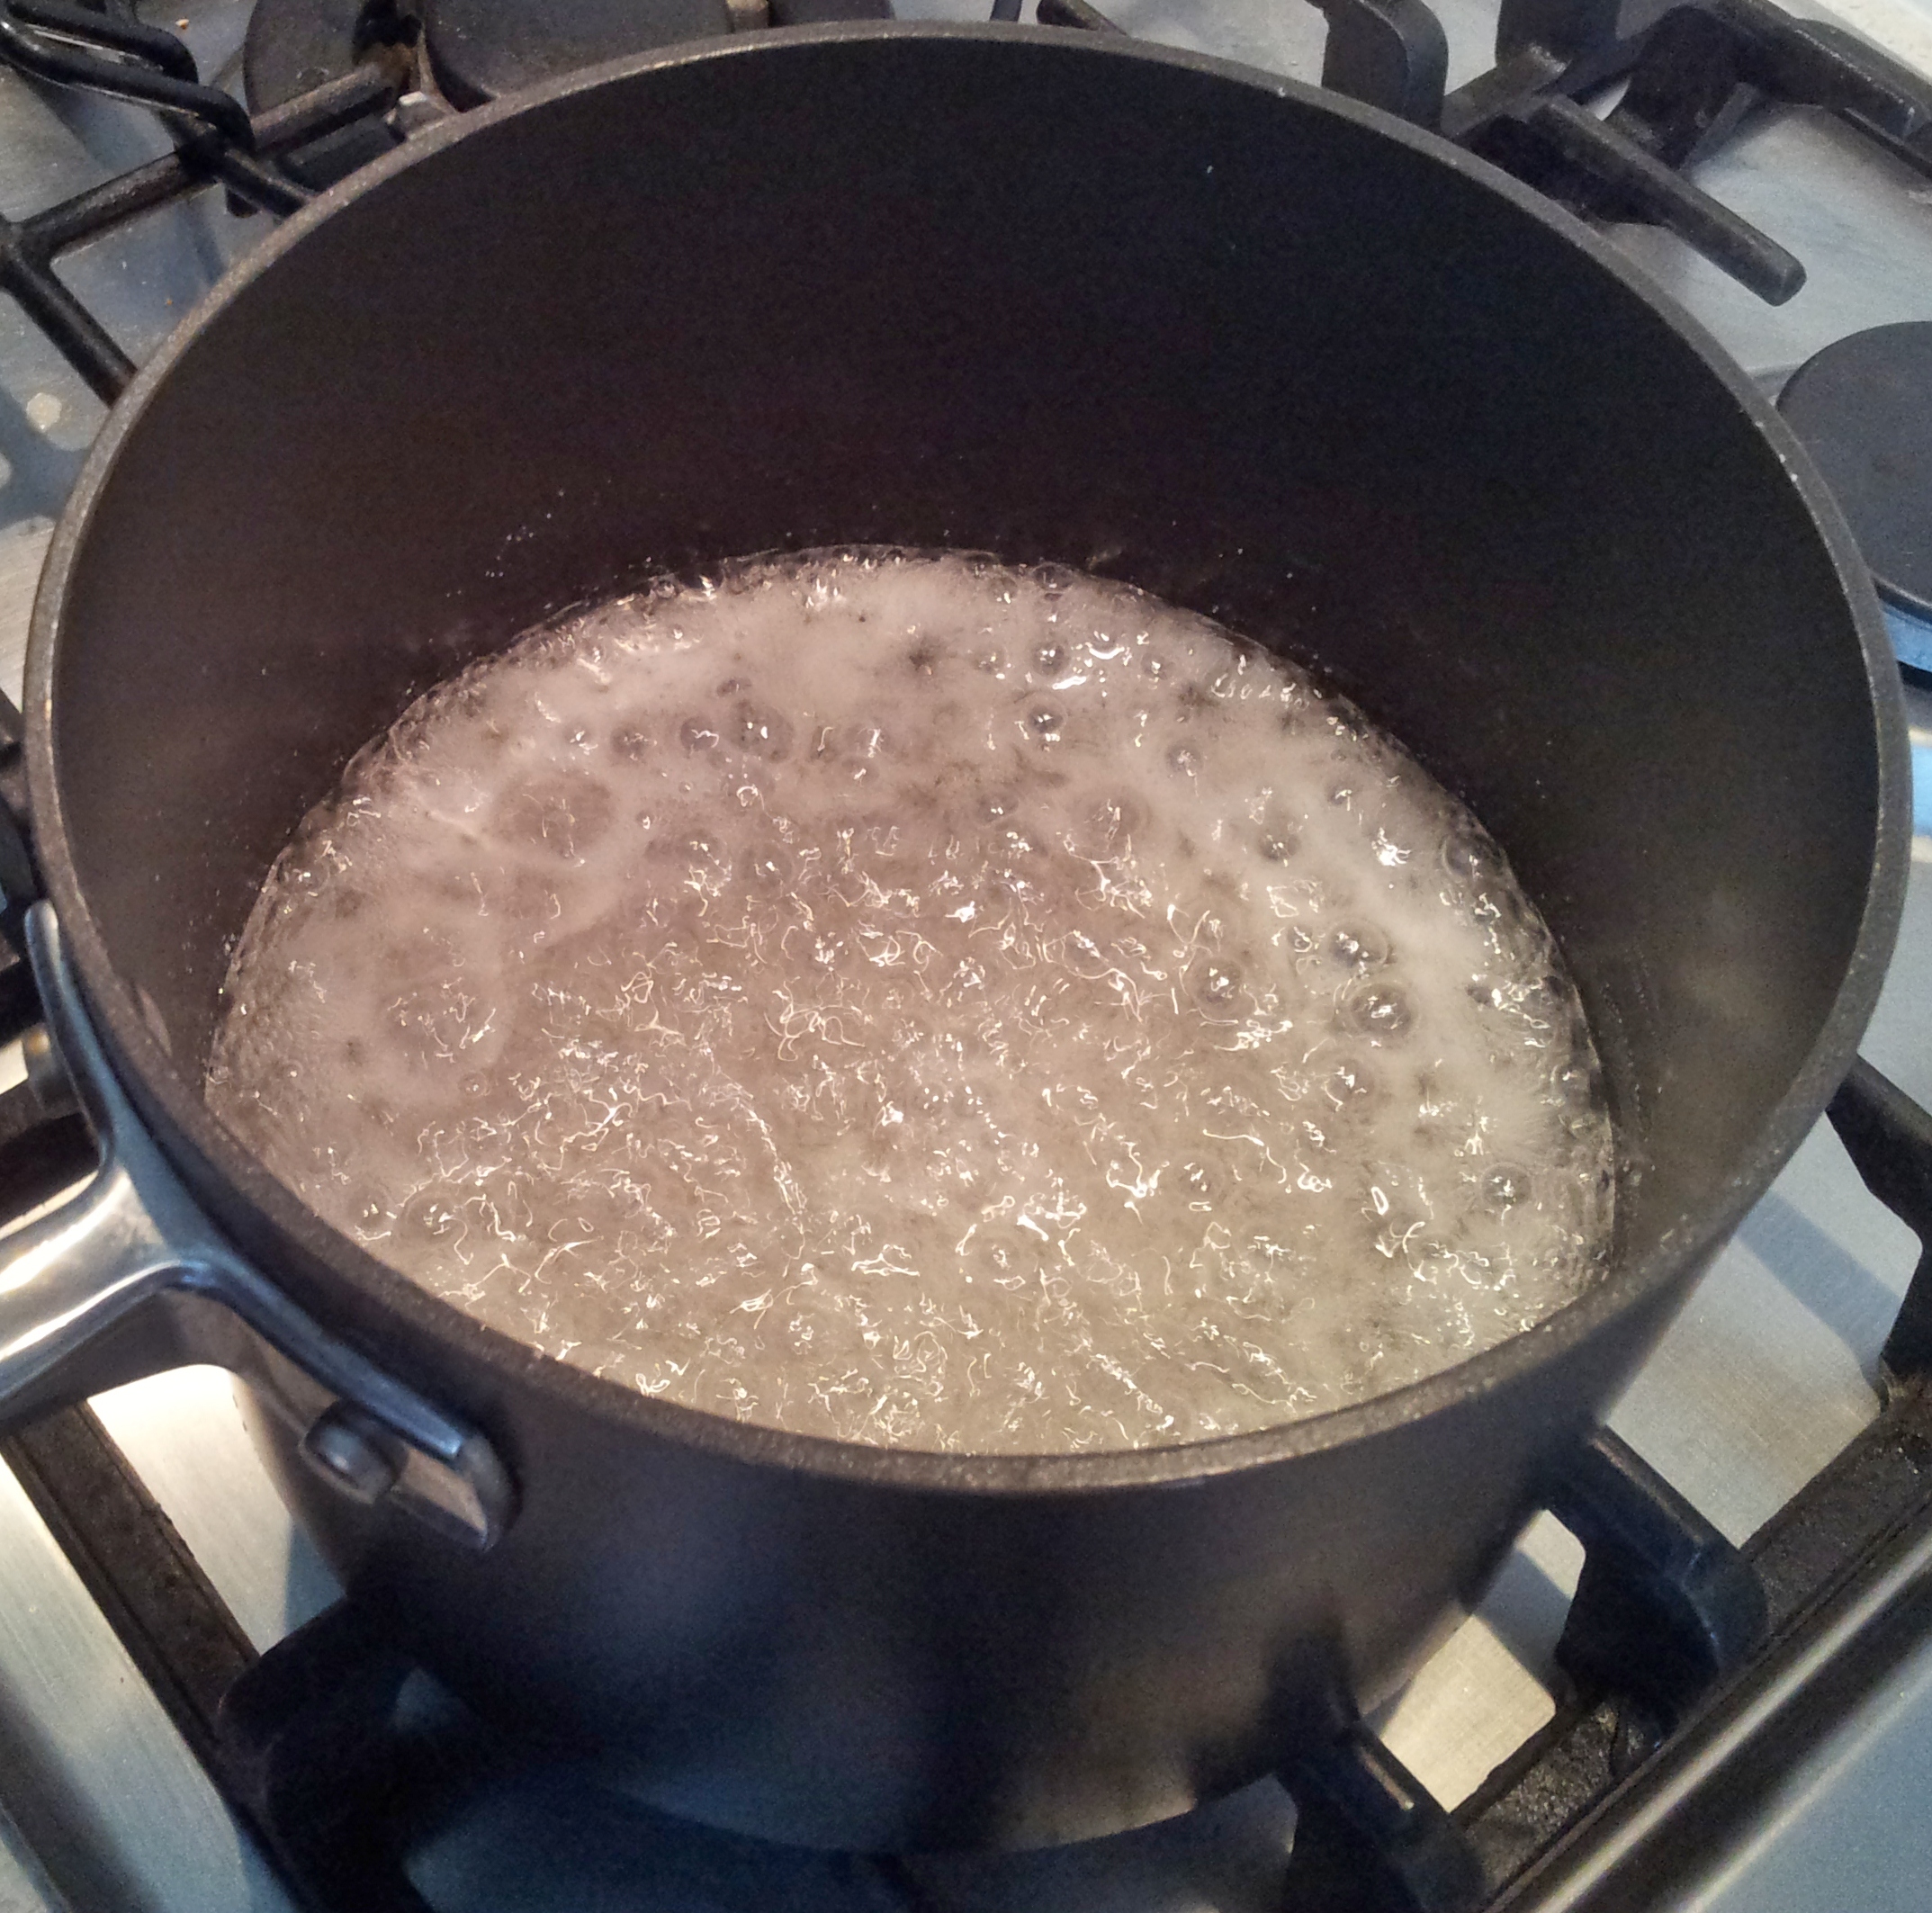
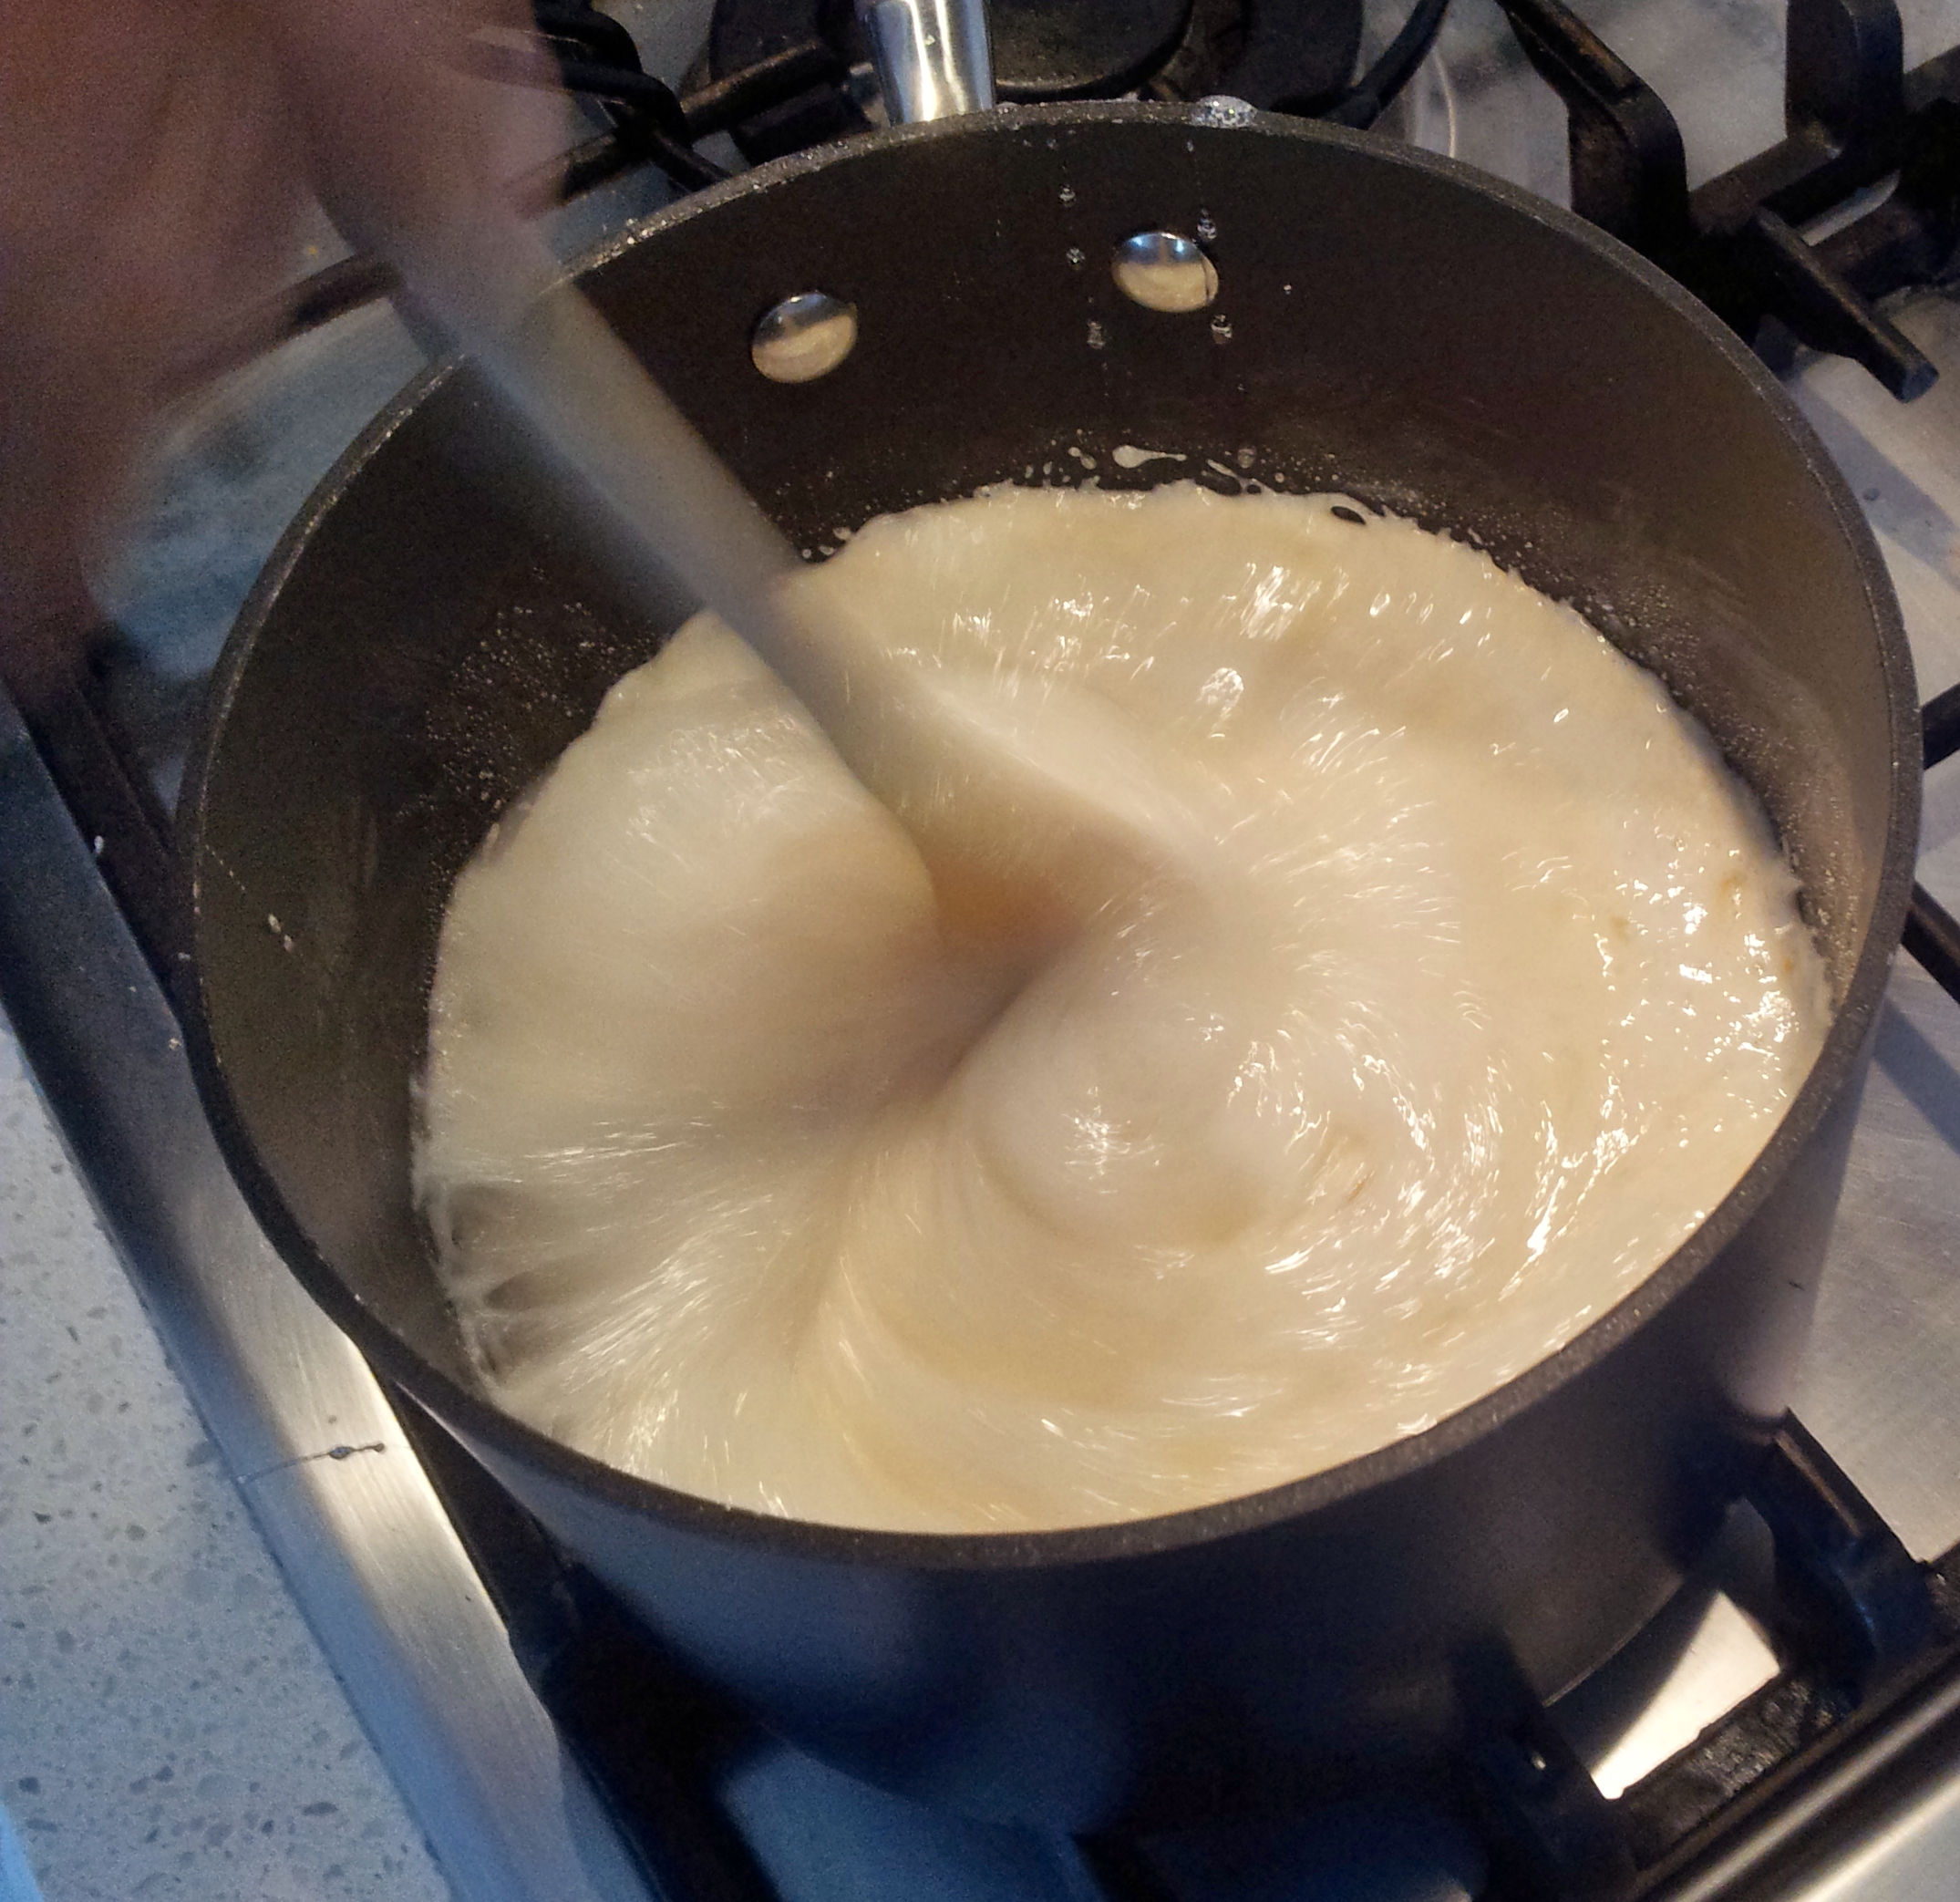
Once the mixture is bubbling and thickened, wait for the first signs of an amber tinge, sprinkle in the bi-carb soda and whisk vigorously. I’ll admit that I watched it for 15 minutes and never saw a tinge of amber so I threw the bi-carb in and watched it turn into a golden cloud. So feel free to do the same if you can’t detect any colour in your syrup.
Quickly pour the mixture into your prepared tin and leave it in a cool place on the bench for 40 minutes until it has set. Be careful not to knock the tray while it sets or you will flatten some of the bubbles. Note that it will sink a little upon cooling.

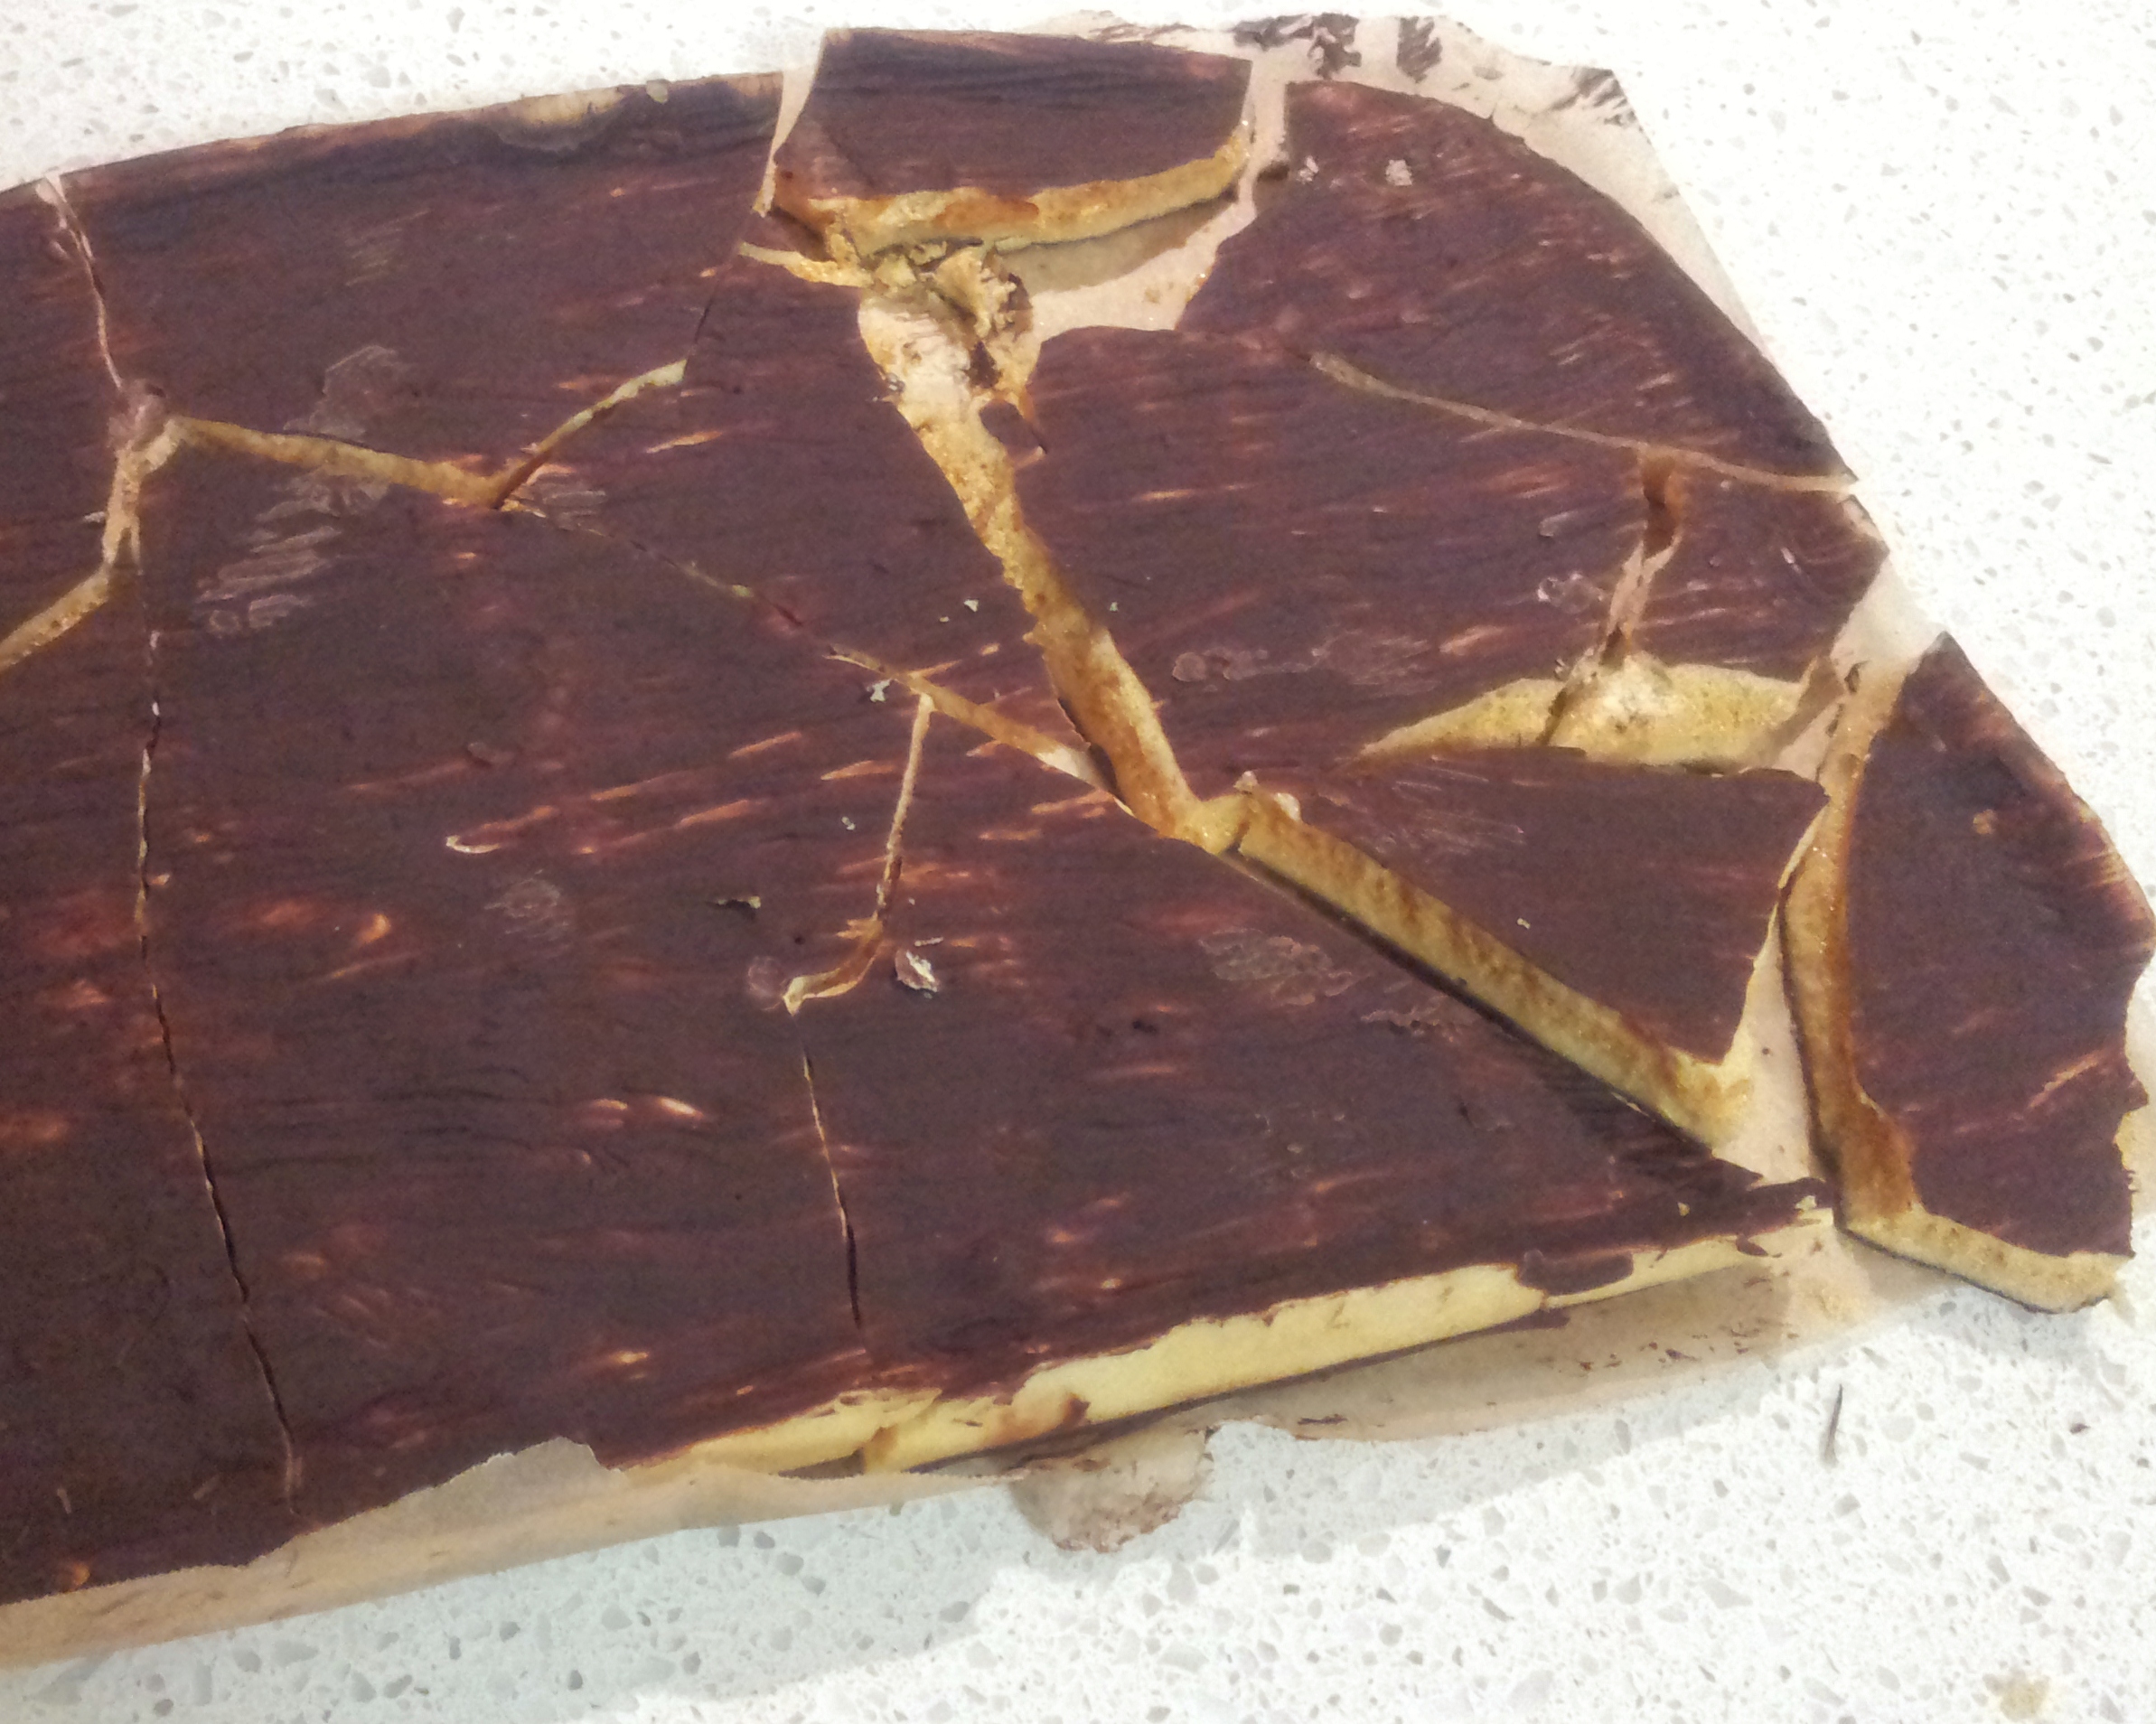
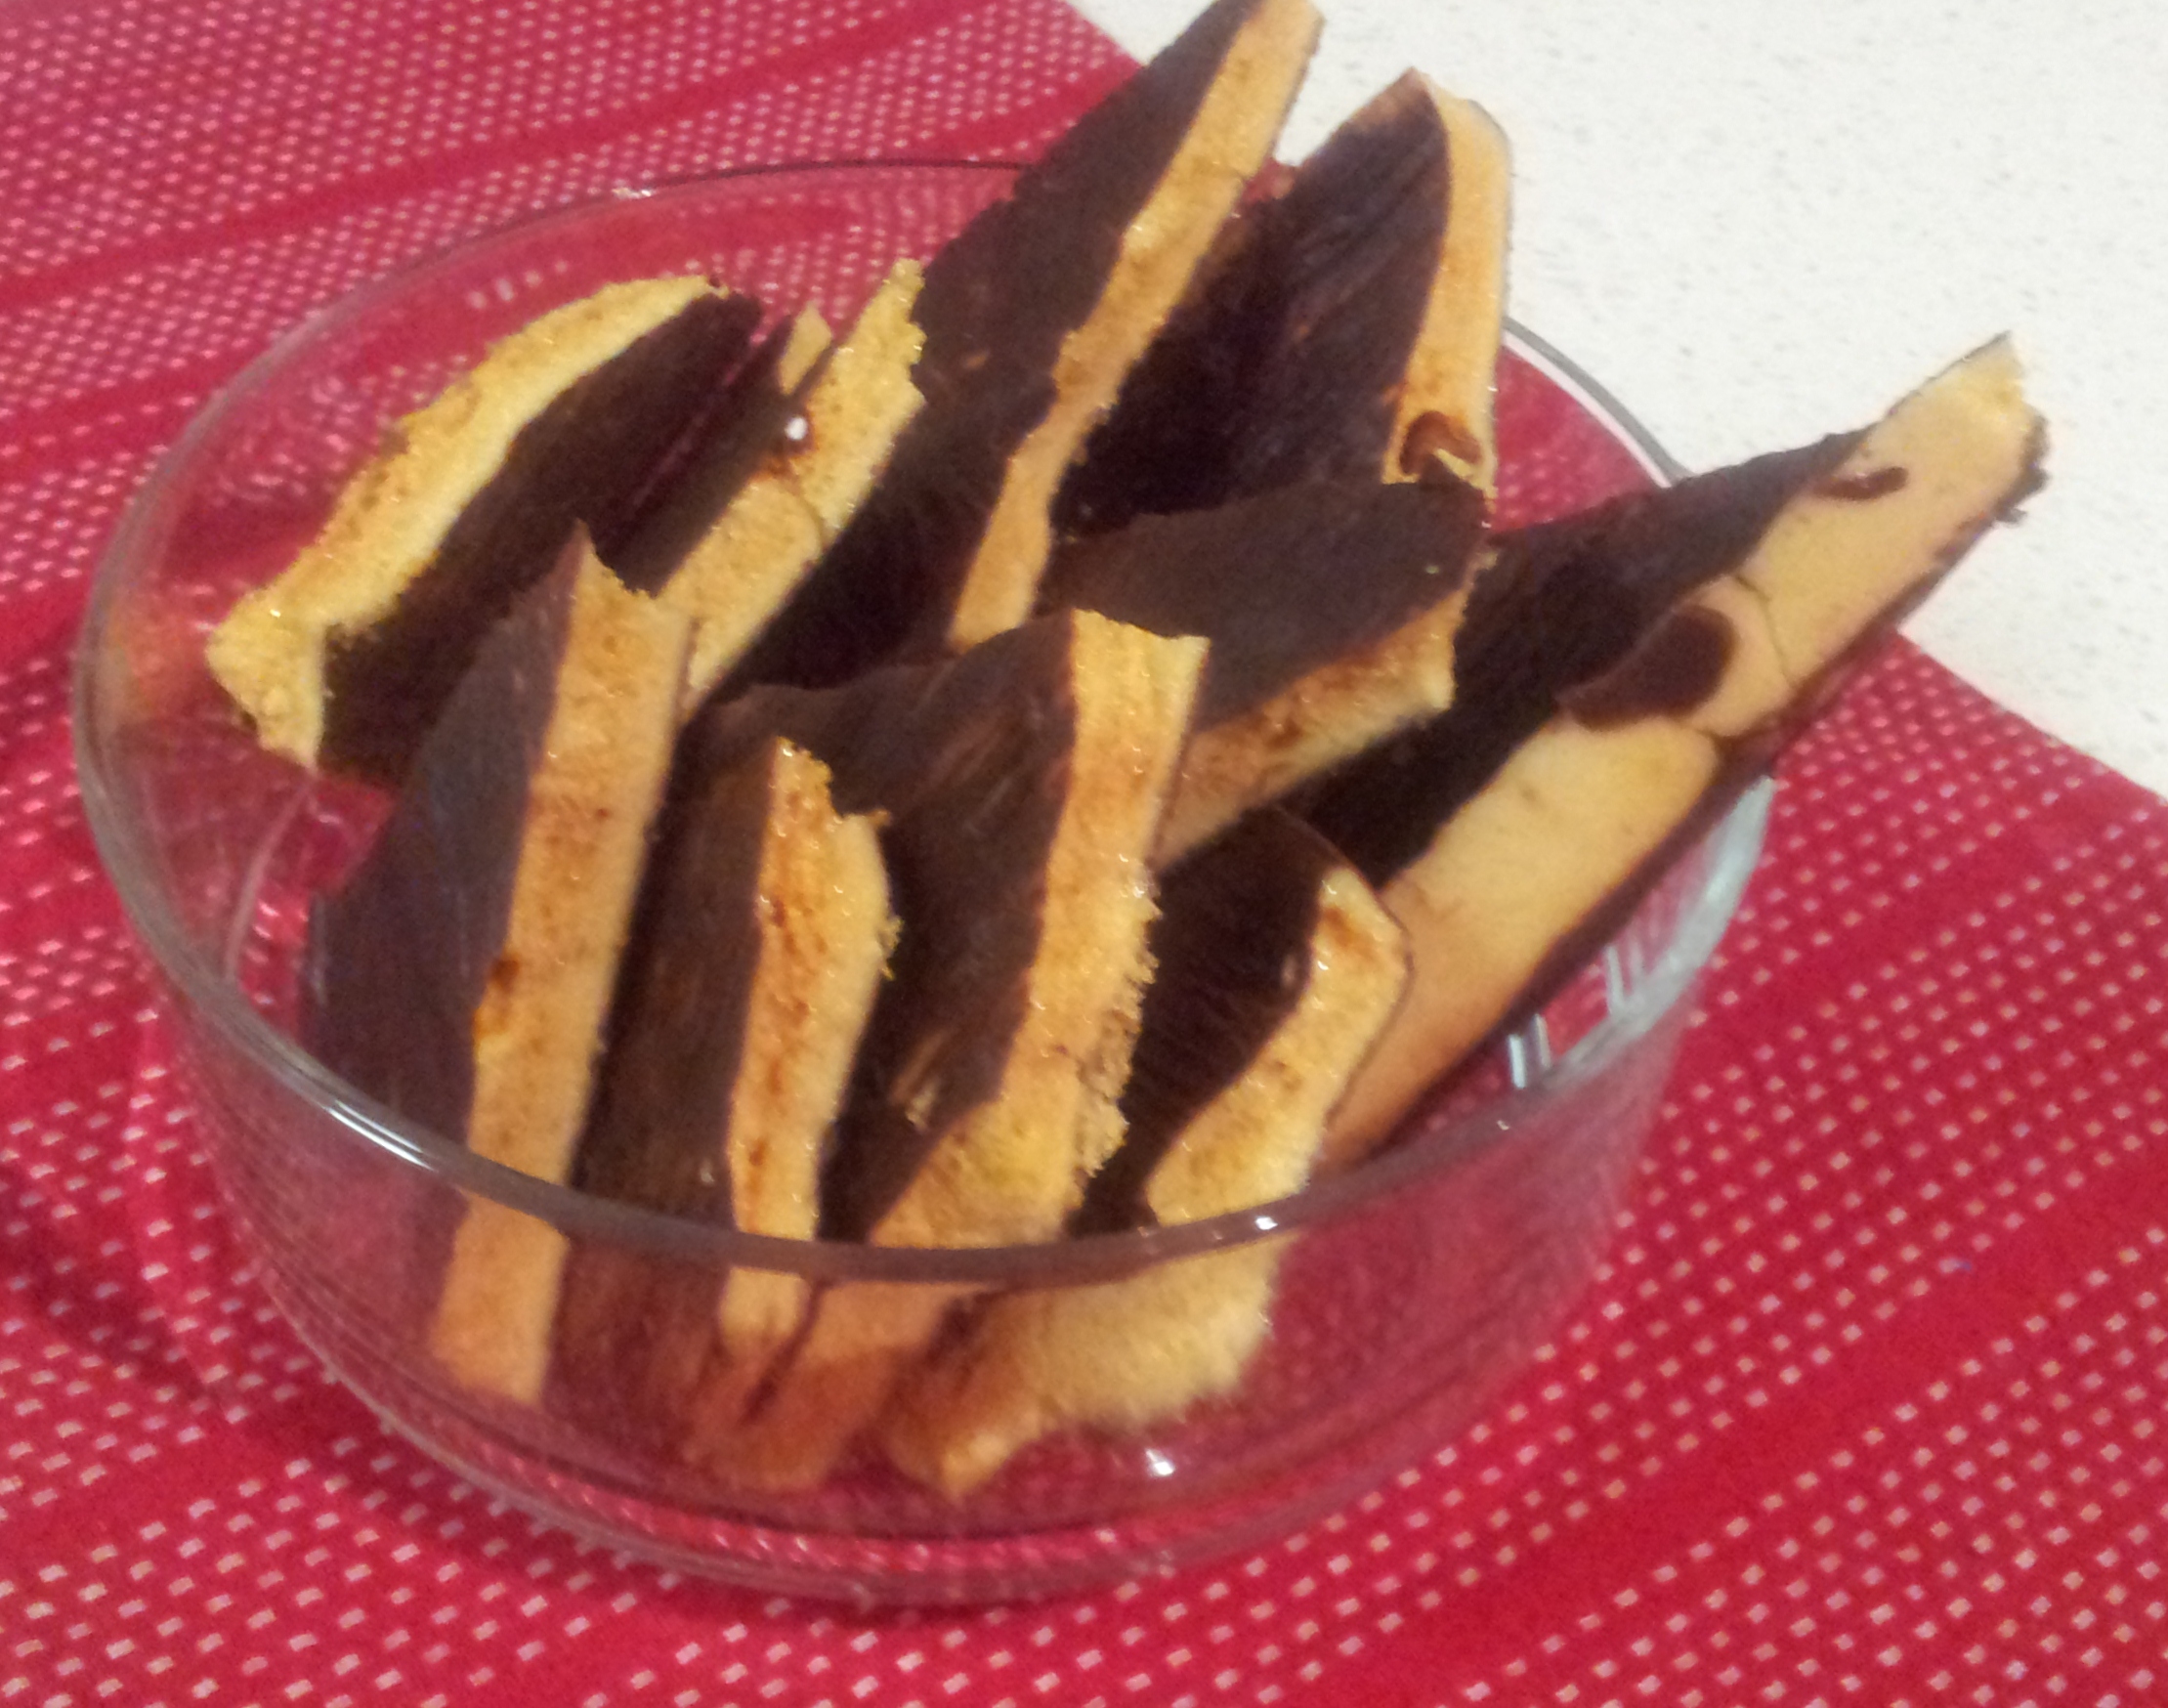
Once it has set (you will be able to tap on it – it should sound hollow), melt the chocolate and use a pastry brush to paint one side. Let it set (I put mine in the fridge thanks to the hot weather) and then turn over the paint the other side.

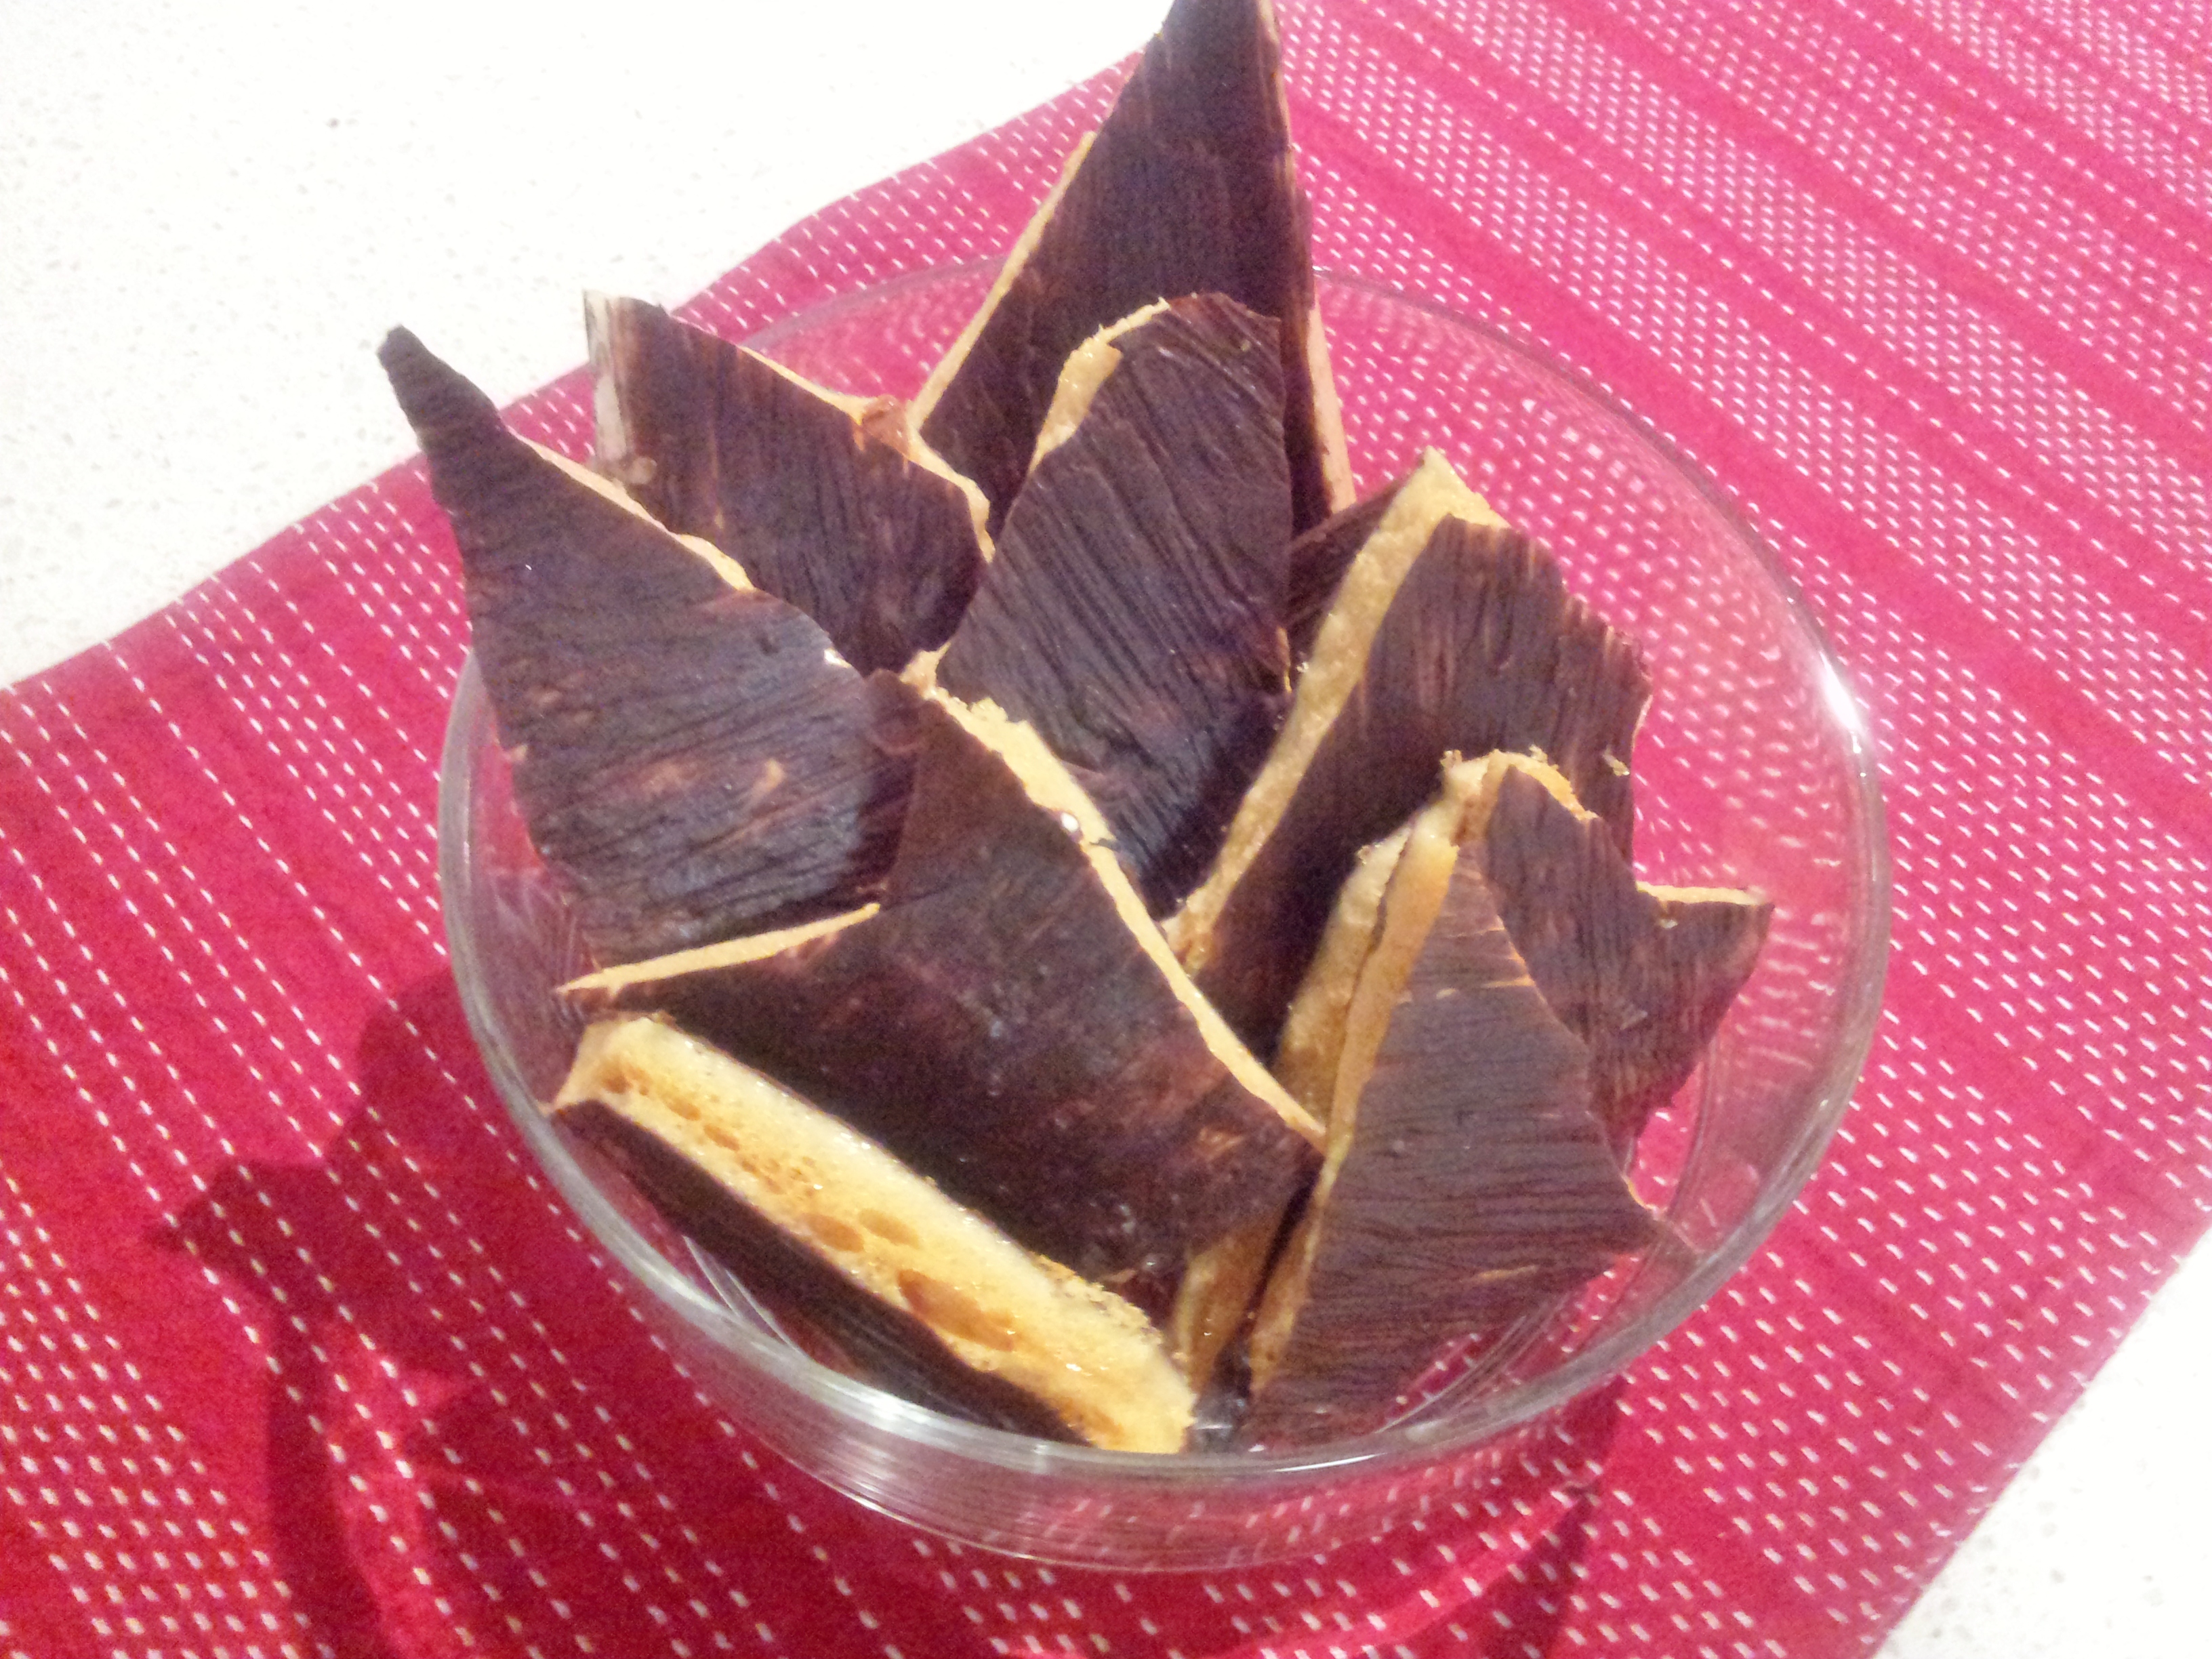
Once the chocolate has all set, tap gently with a knife handle in a couple of places until you have the sized pieces you want.
Serve with ice cream, on it’s own, or wrap for gifts as you see fit. But be prepared to make a second batch – a surprising amount disappears in the ‘testing’ stage!

Oh, I like that it’s painted with chocolate! I have seen it dipped in chocolate before but this looks more sophisticated 🙂
Thanks Fika! So easy to do (and uses less chocolate so it is slightly healthier)!